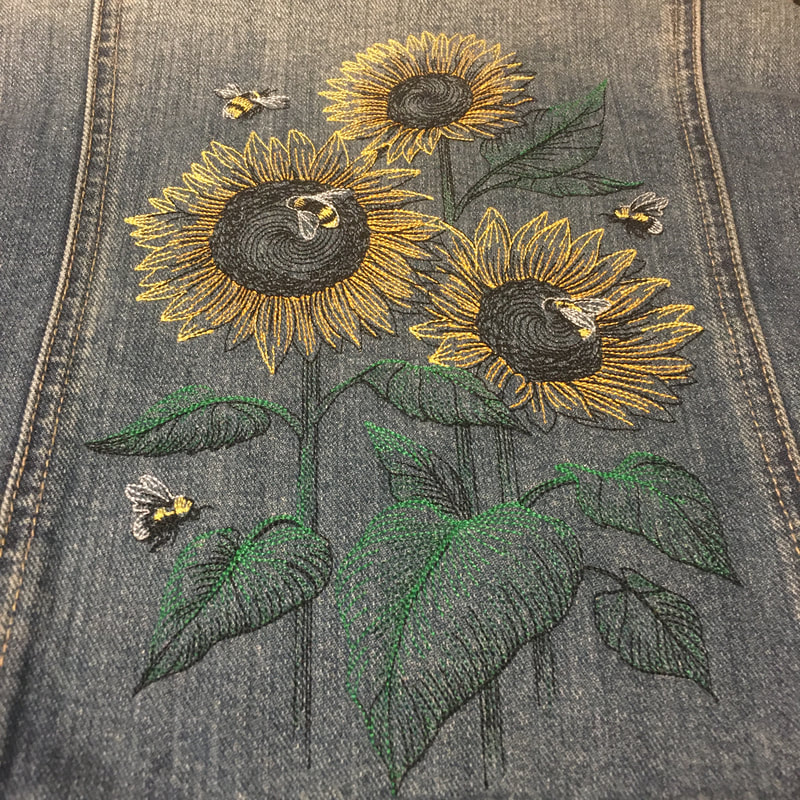
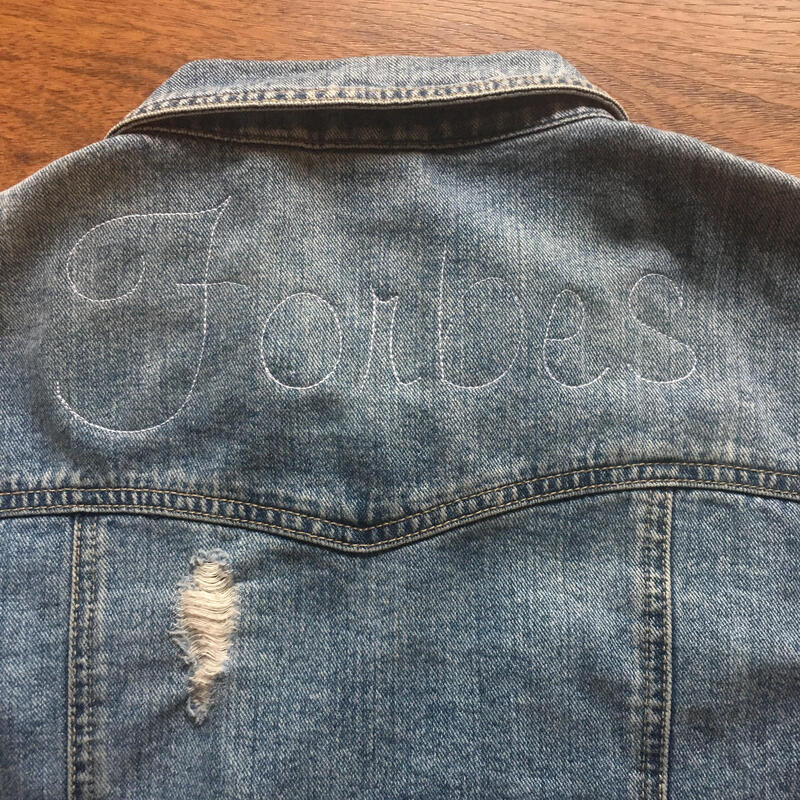
Oh, and by the way, this is an old machine with an old computer so you can't just automatically send over design data by bluetooth or even a flash drive. You have to use a floppy disk. The Final Product2 hours, 14 minutes and 37177 stitches later...
0 Comments
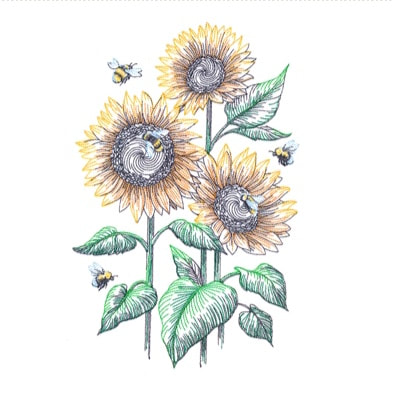
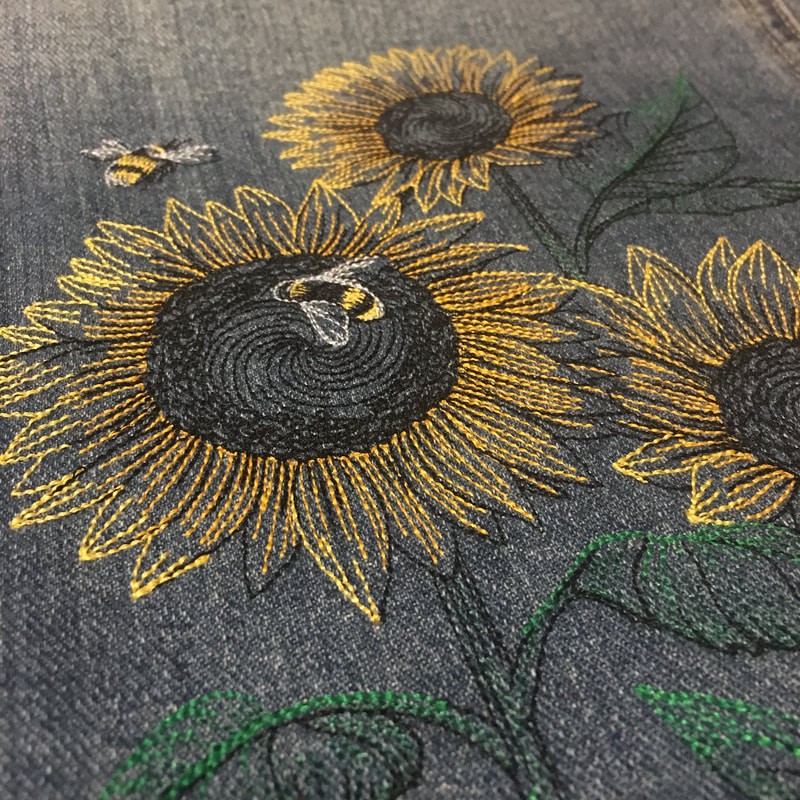
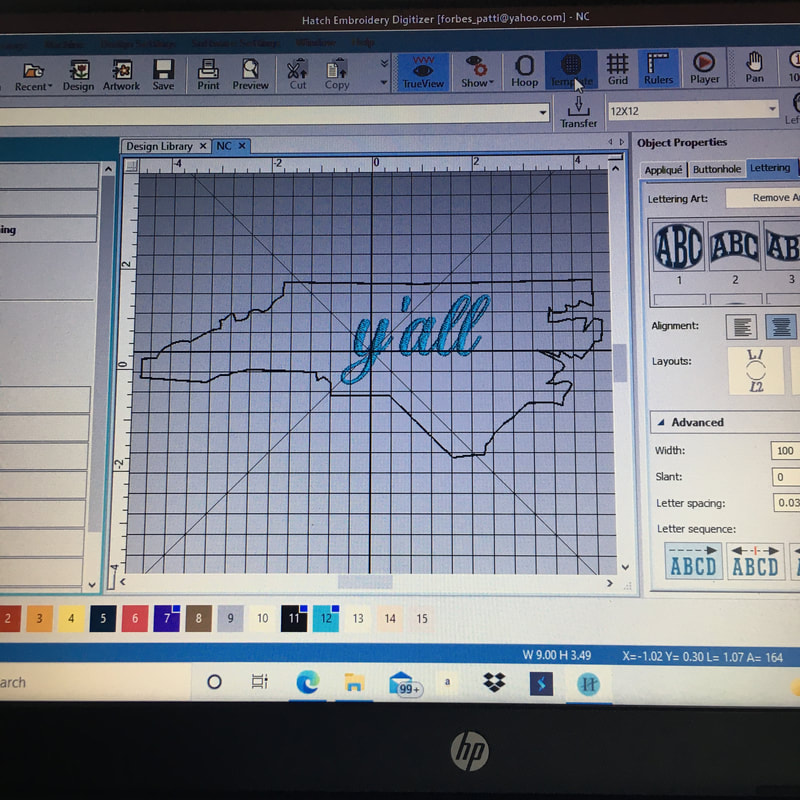
This week I started by working on my final project. My goal is to upcycle a denim jacket with my name and an embroidered panel. This week's goal was the name on the top portion of the back of the jacket. That and I want to do as much as I can on my own.
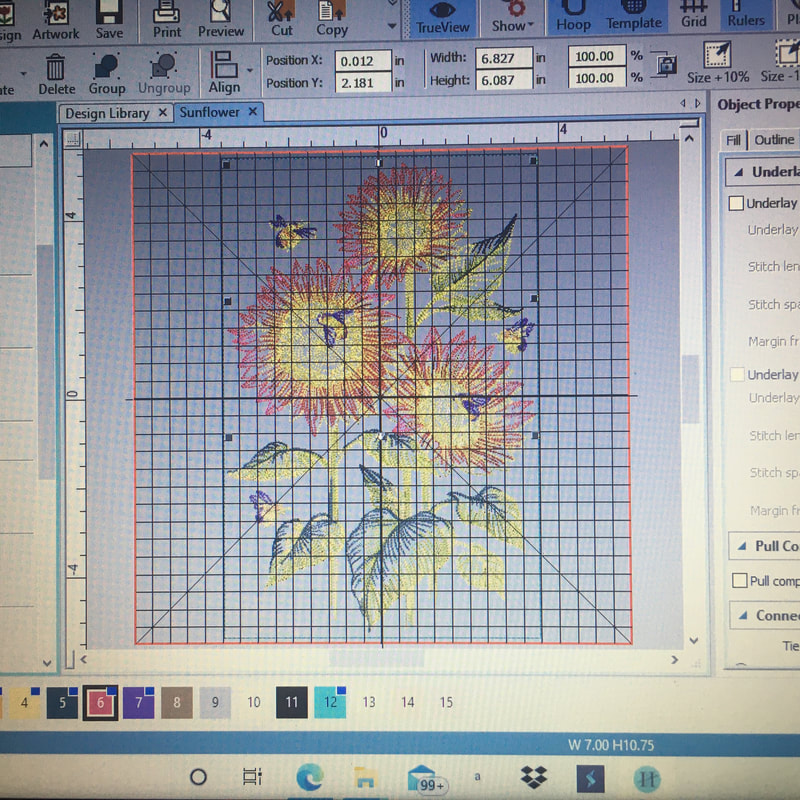
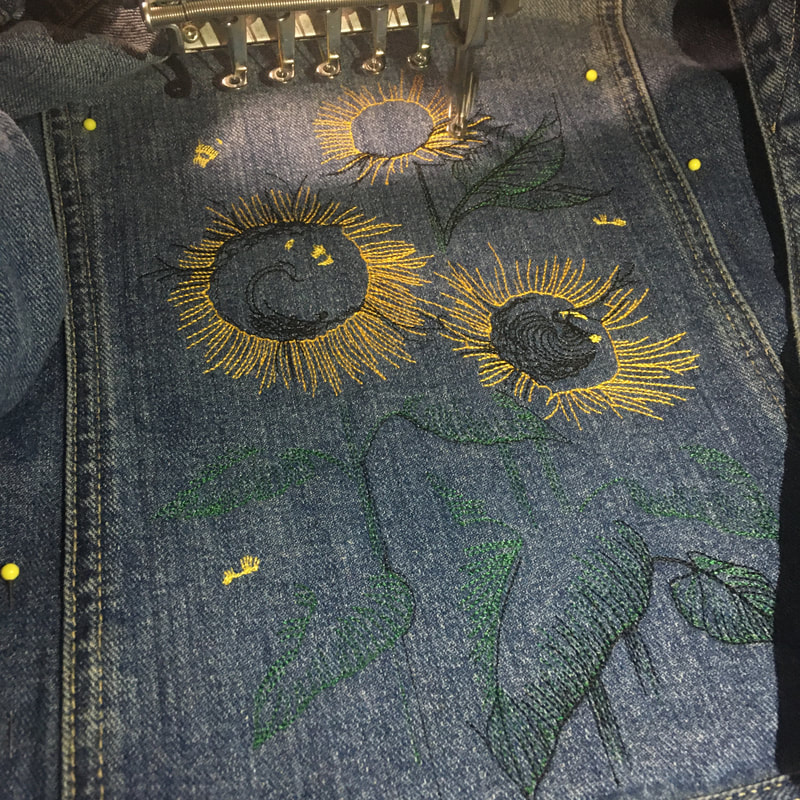
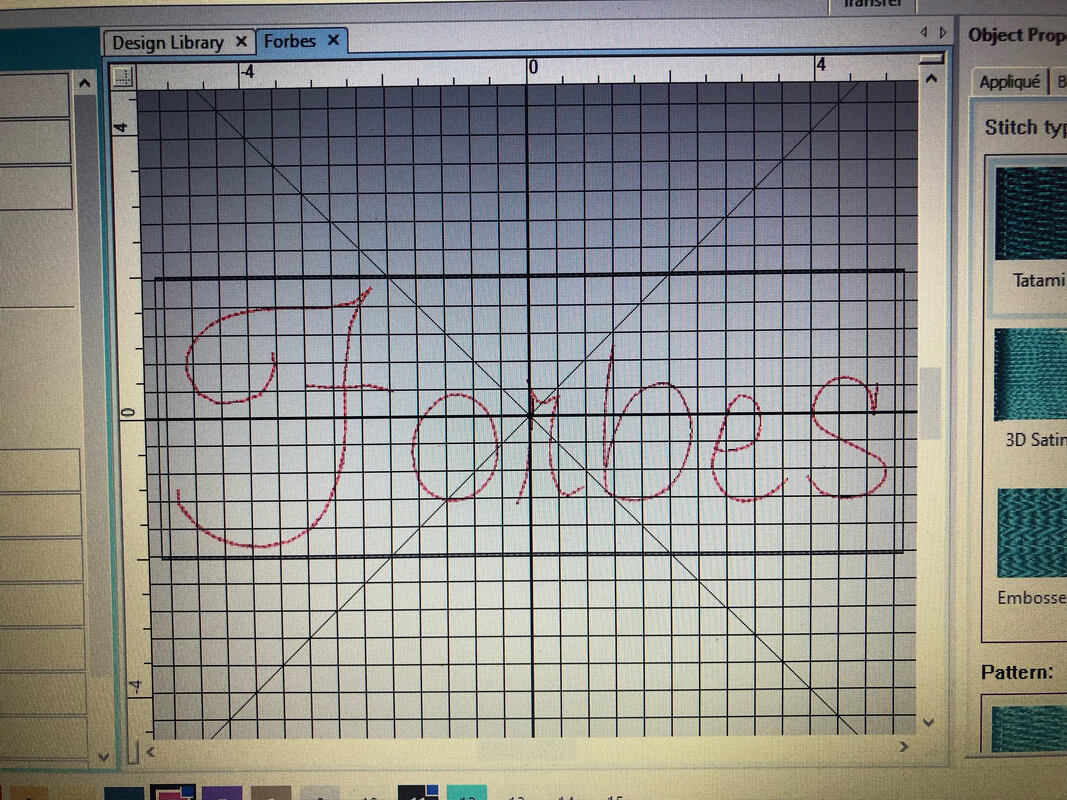
The first thing that I did was create my design. I did this part entirely on my own. This includes picking out the font, stitch pattern, and sizing it to fit the top panel of the jacket. After that I uploaded it from the computer to the embroidery machine. Since this was a brand new design we had to do a test stitch on a scrap piece of fabric first to make sure it wound properly sew out. After the test stitch we could begin embroidering on the actual jacket. To start, I hooped the stabilizer and put it in the machine. It then sewed out a rectangle outline so that I would know where to pin the jacket.
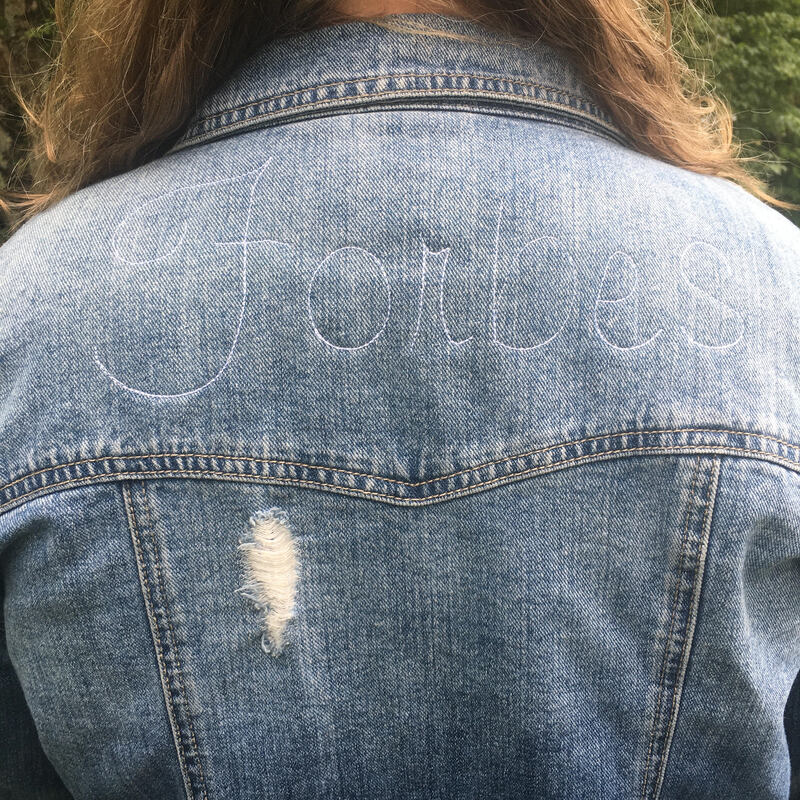
Overall, I like how it turned out (even though it’s only half way done). I wanted something that was fairly neutral and that wouldn't stand out as much as some of the other things that I've done and I feel that it did just that. The Final Product5 minutes and 1317 stitches later...
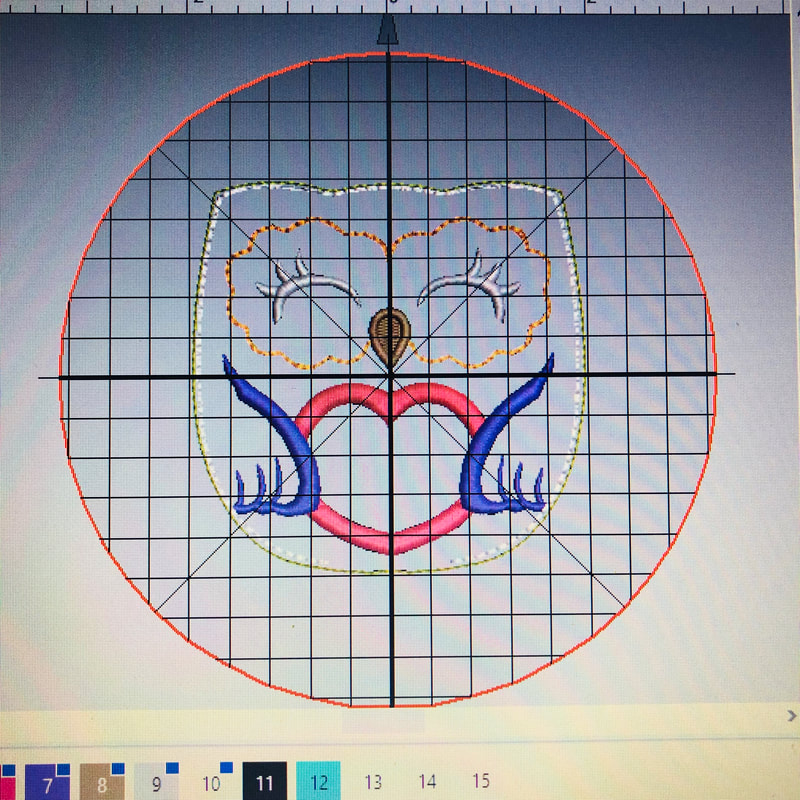
This week I created a small owl stuffed animal. This was a design that my mom has used many times in years past and is fairly simple after you get the hang of it. It's 4 inches by 4 inches and combines many things that I have done in this project so far. For example, it uses both applique and color changes.
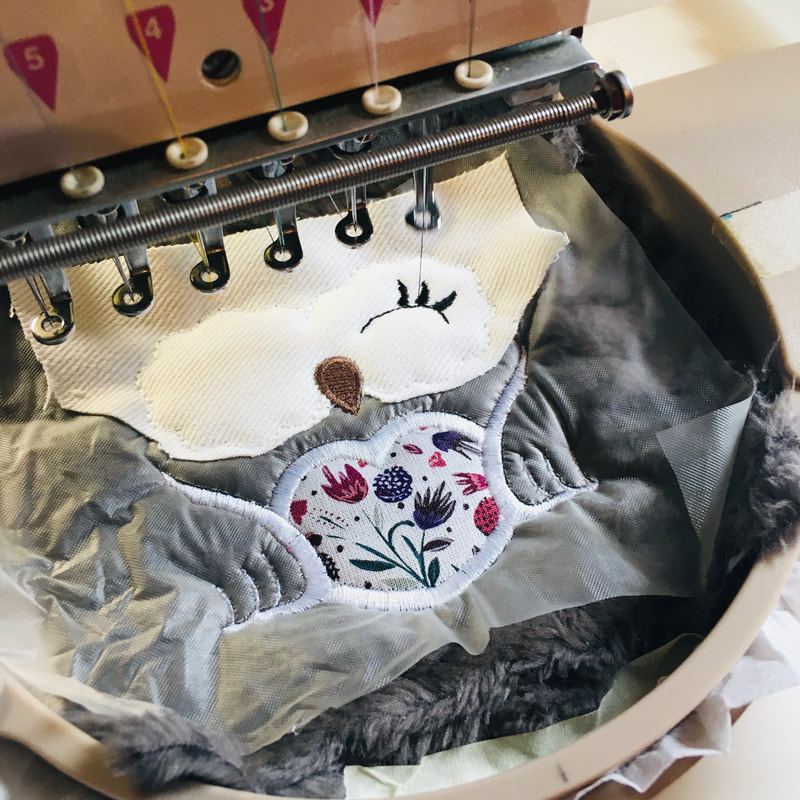
After the outline on stabilizer, everything else was pretty much just an applique. The first layer was the fluffy gray fabric that makes up most of the stuffy. The second layer was the eye placement and tack down stitch because of the unfinished and frayed look. The third layer was the heart shaped belly of the owl with a scrap of fabric from the North Carolina shirt a few weeks ago with a placement, tack down, and satin stitch to give it more of a finished look then the frayed applique eyes.
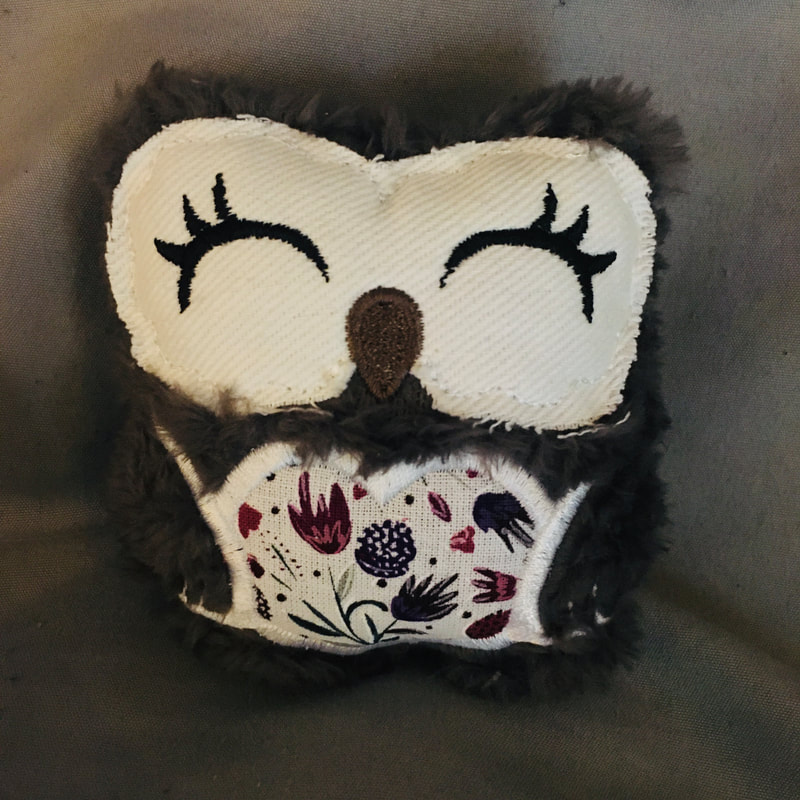
After it was all sewn out we took it out of the hoop and trimmed it as close as we could to the seam, and then flipped it inside out, and stuffed it. The only thing I would do differently is to pay attention and try my best to trim closer to the seams. I think it turned out really cute for only being 4 inches tall and it seems like something I could make again if I wanted. The Final Product37 minutes and 5215 stitches later...
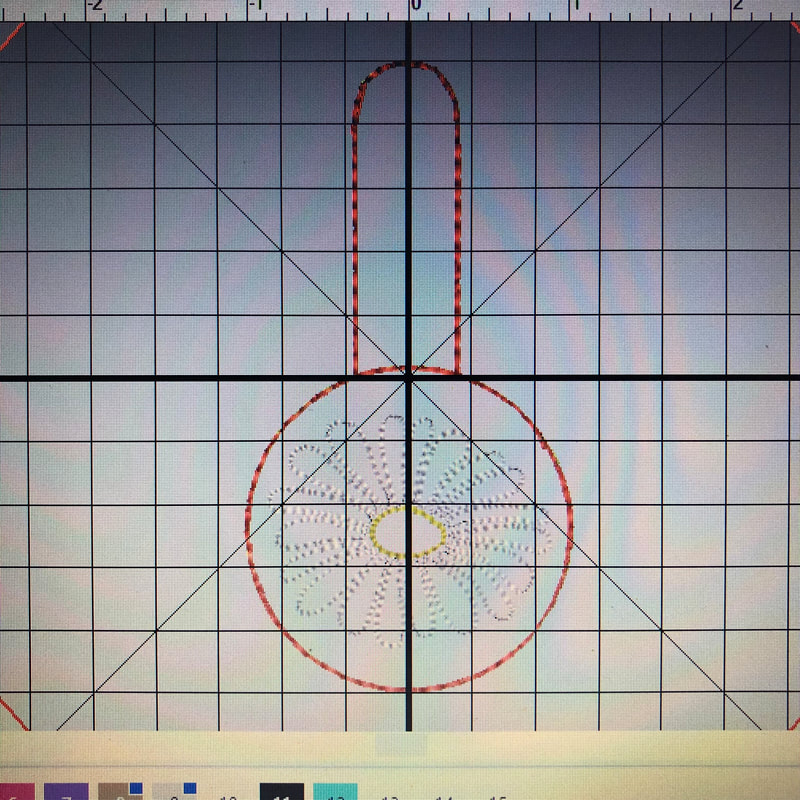
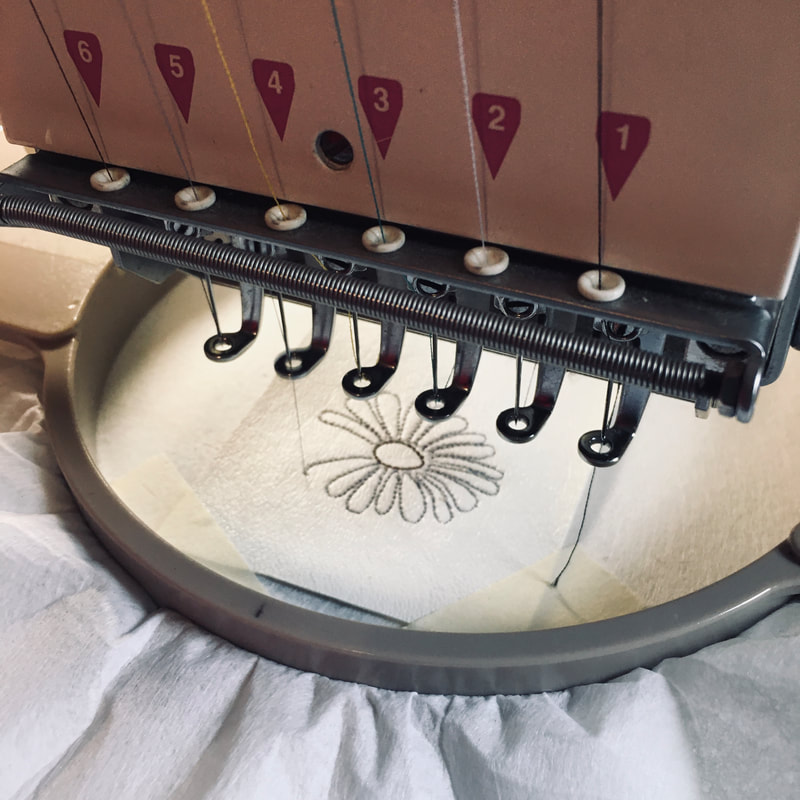
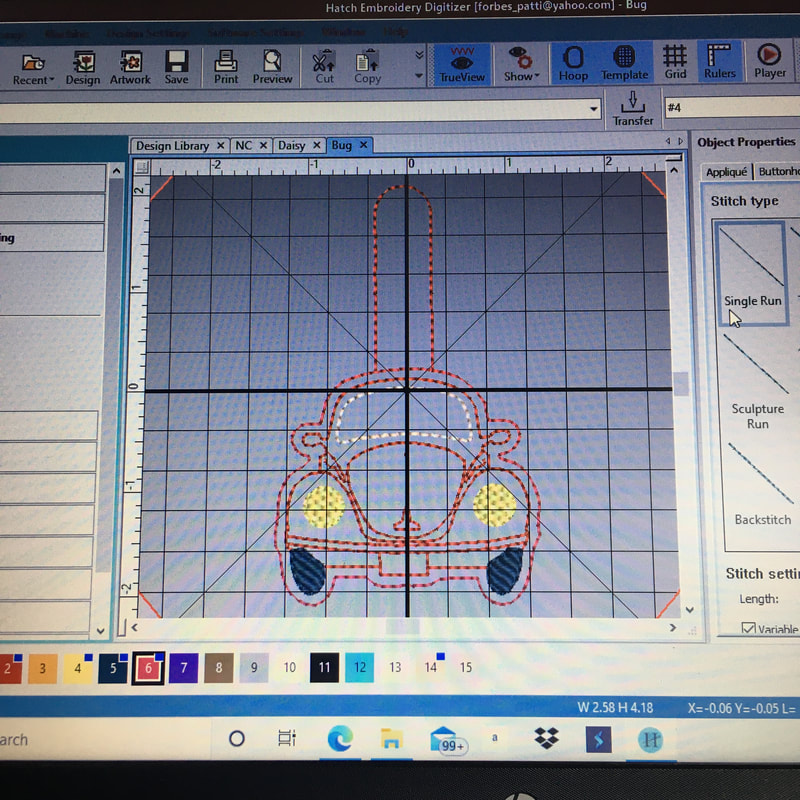
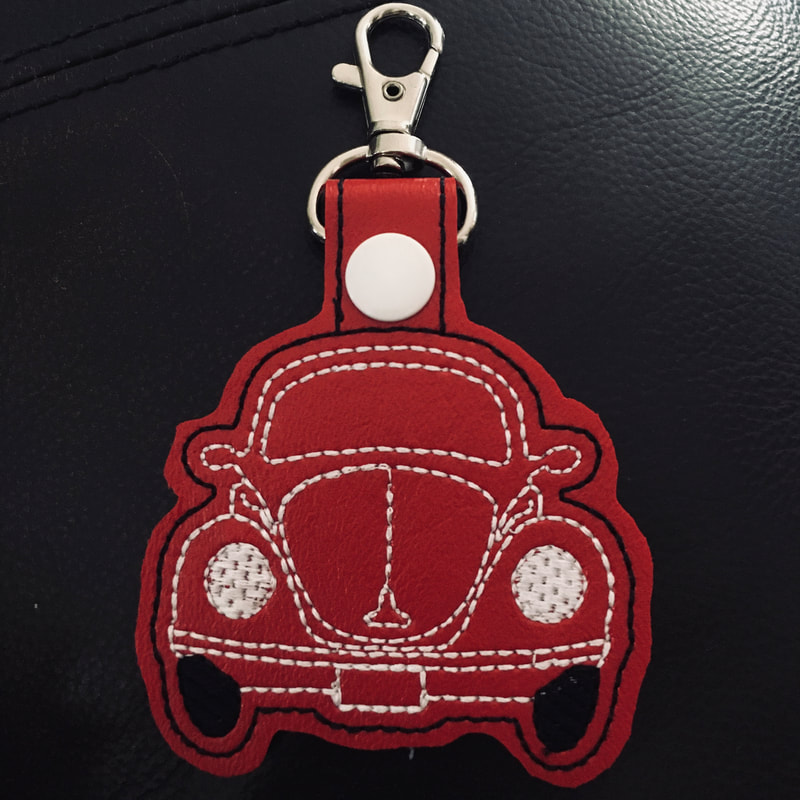
First we took the design from the daisy overalls and got rid of the fill stitches of the petals and center. This left only the outlines and from there we shrunk it down a good bit and added a place to put hardware. By taking out the fill stitch, it took significantly less time than the overalls did.
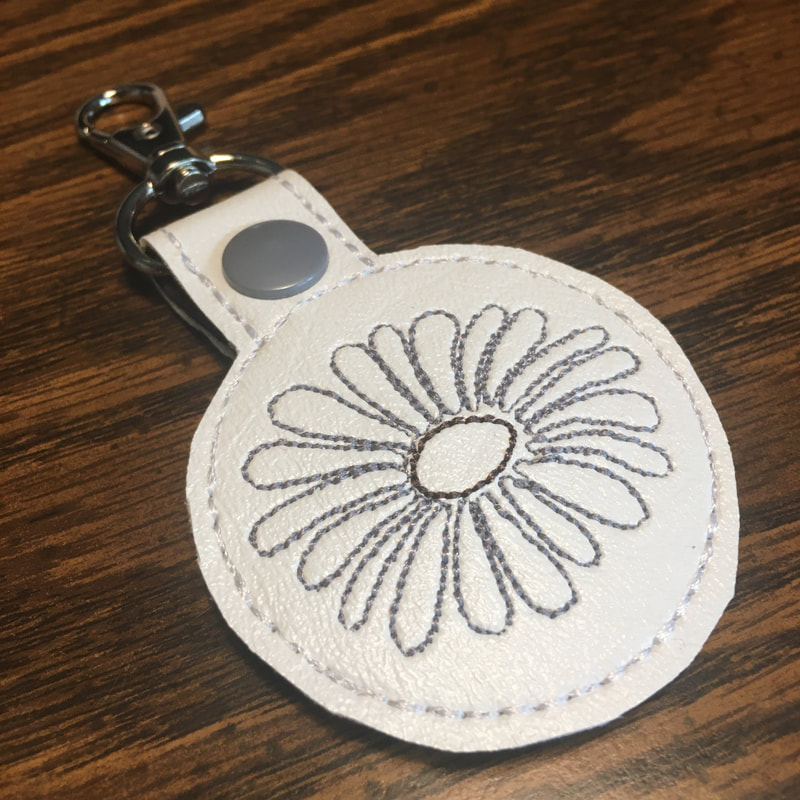
Everything was pretty much the same until I taped some scrap leather we had to the back instead of regular fabric for the finished look on the back. First the machine sewed out the outline before the first layer. Next it sewed out the brown center of the daisy. Then it did the gray petals of the daisy. Last it sewed the key fob outline that holds the scrap leather on the back.
Overall I like the design. It did pucker a little around some petals and the back under the snap had a few knots from the couple dozen thread breaks but hey, you cant see them so who needs to know they're there, right? The Final Product20 minutes and 2287 stitches later...
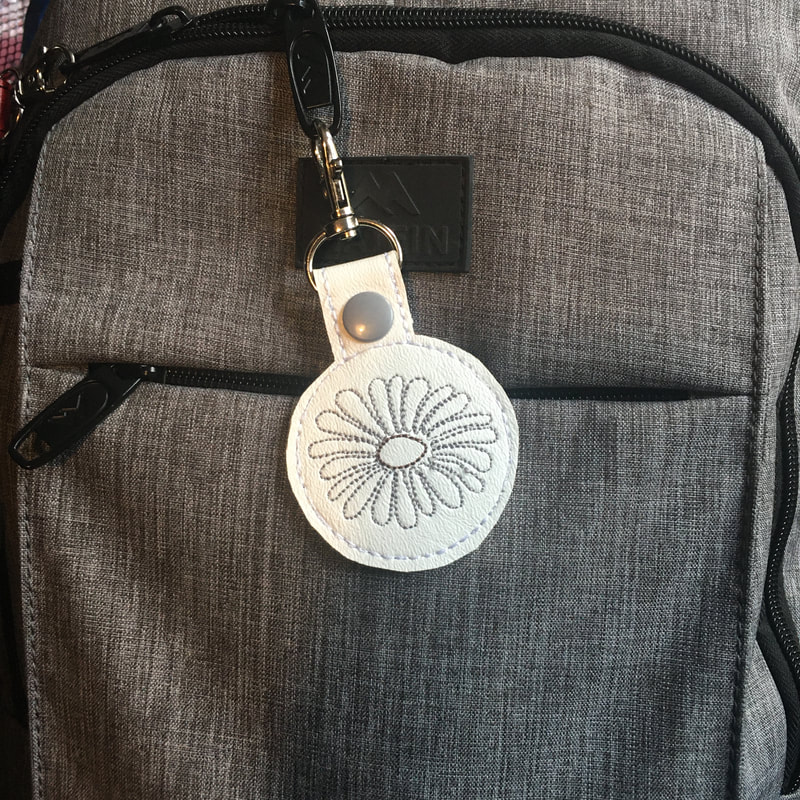
I started by changing the hoop attachment in the machine back to something better suited for a smaller hoop since the last project I did required the bigger hoop attachment. Next I hooped some cut away stabilizer before I then transferred the design data to the machine.
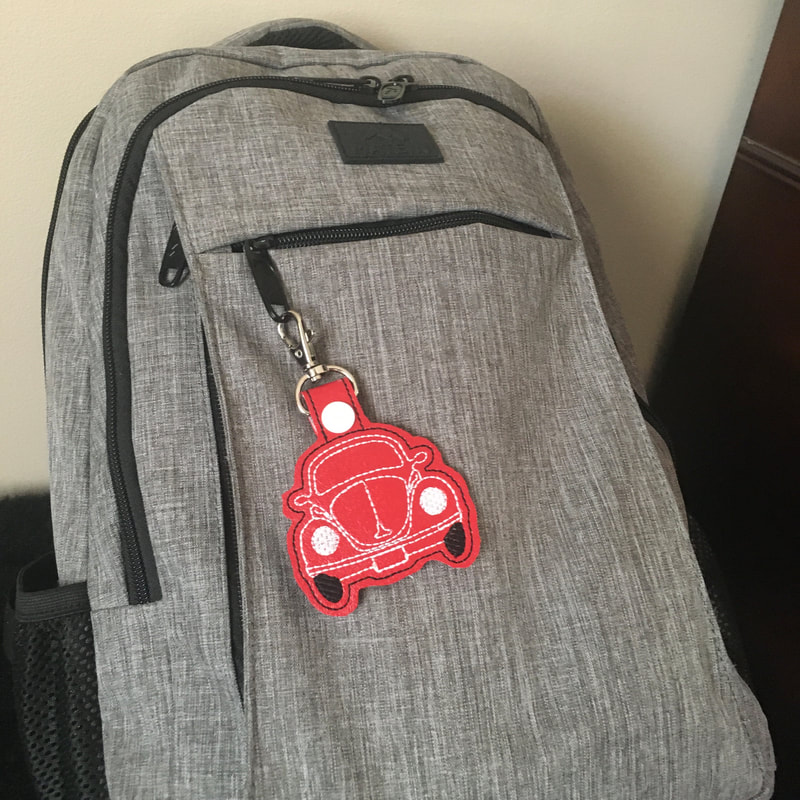
Then after some finishing touches (fray check so that the fabric won't fray and unravel on the back) and hardware (white snaps and a clip thing) it was finally done. I liked this project because it turned out super cute and is something I can leave on my book-bag as long as I want. The Final Product23 minutes and 2632 stitches later...
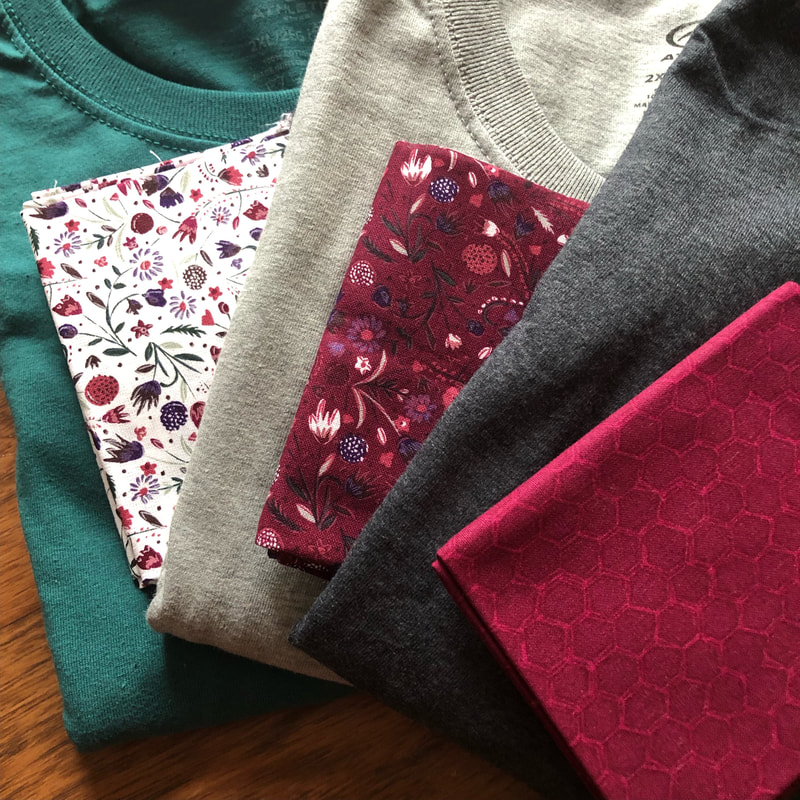
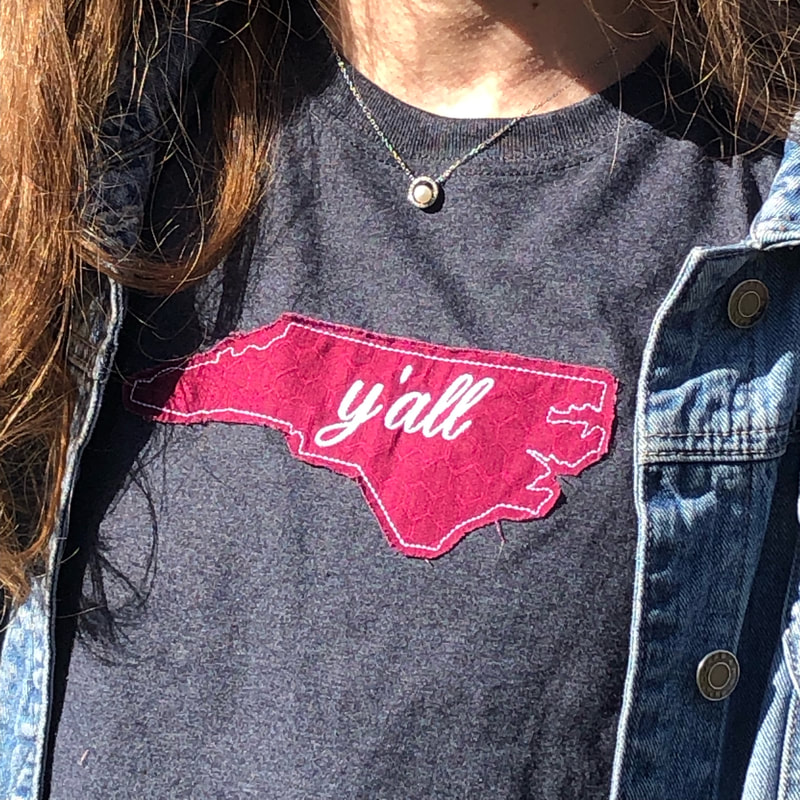
This week I worked with simple T-shirts. The design was actually an idea my aunt had been wanting on a shirt for a while now and I got to be the one to make one for her, my grandmother, my mom, and myself for a genius hour project this week. An applique is where a piece of additional fabric is sewn (or in this case embroidered) to the base material. This week I learned how to change the hoop attachment for a larger design and the different ways to finish an applique in the hoop.
From there, I hooped the shirt with the cut away stabilizer in a much larger hoop than in past projects and since I had to use a bigger hoop, I also had to change the hoop attachment on the machine. There were four little screws that had to come out to change the attachment, mom showed me what to do by taking them out and by seeing what she did, I put the new hoop attachment in all by myself, just in the reverse order.
I really like the finished product and I'm happy that I could make something that other people could enjoy as well. The Final Product17 minutes and 4673 stitches later...
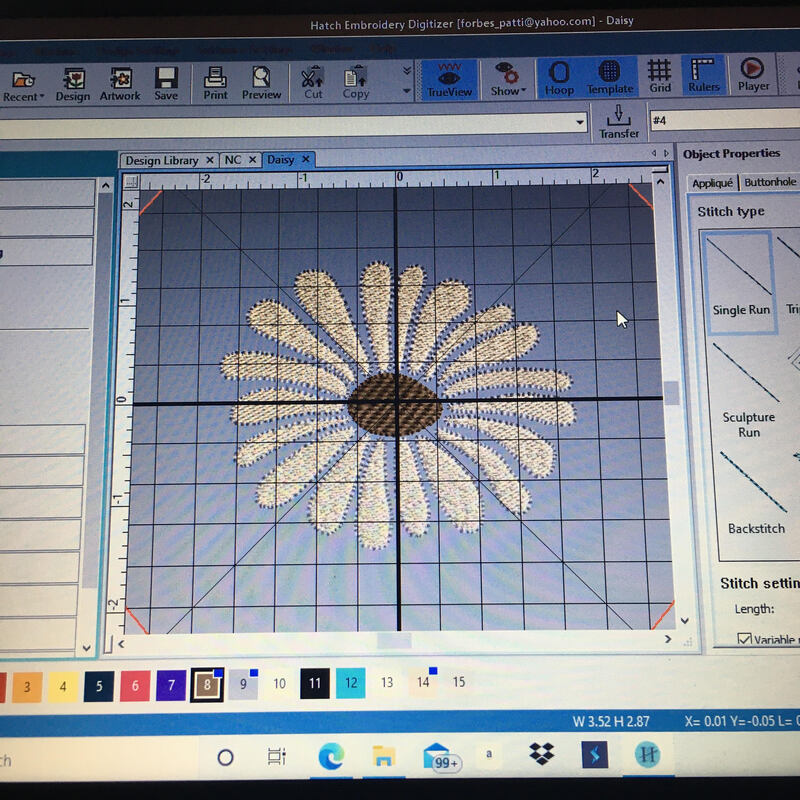
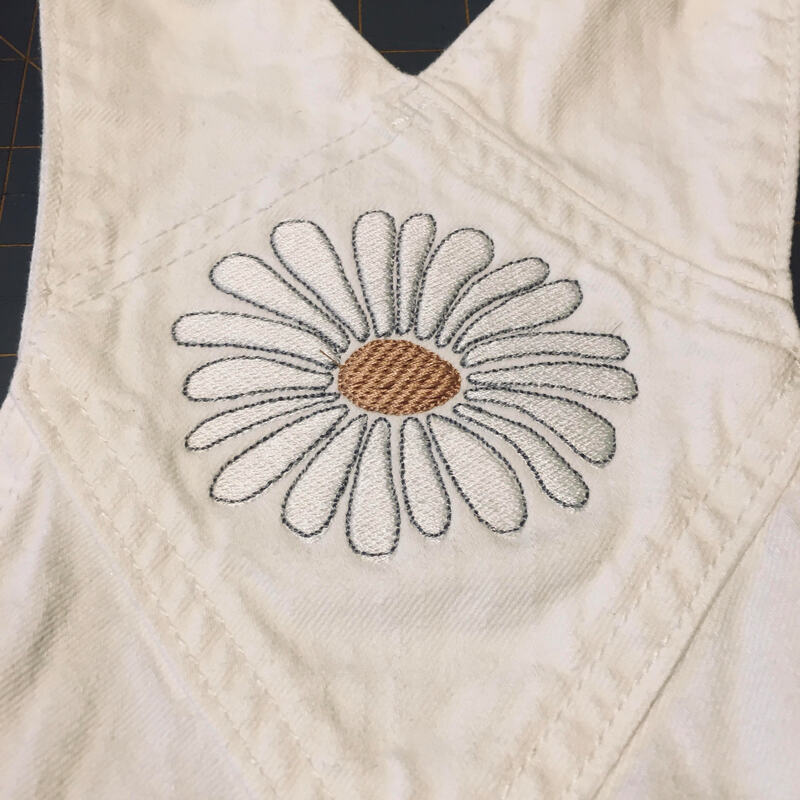
This week I embroidered a multi-colored daisy with a pre digitized design on a pair of white denim overall shorts that I already had laying around. With this design I learned how to program a color change in the machine and I learned how to thread a new color through the machine.
For the most part many aspects of this were the same as the last few projects I completed. I hooped it on top of a double layer of light cut away stabilizer with straight pins to hold it in place and transferred the design data from the computer to the embroidery machine the same as I have been.
The next color to sew out was a light gray trim around the petals of the daisy to make it stand out from the white background. Lastly the centerpiece of the daisy design, a light tan color. These two colors combined took less time to sew out than the white portion.
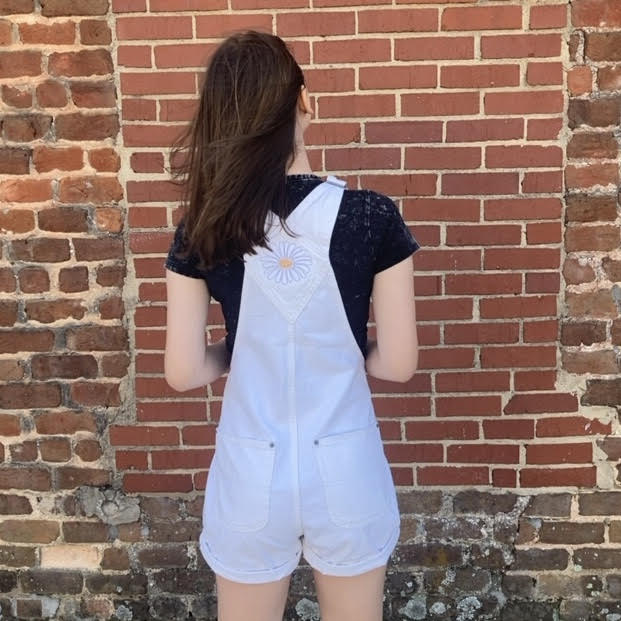
The Final Product 43 minutes and 12185 stitches later...
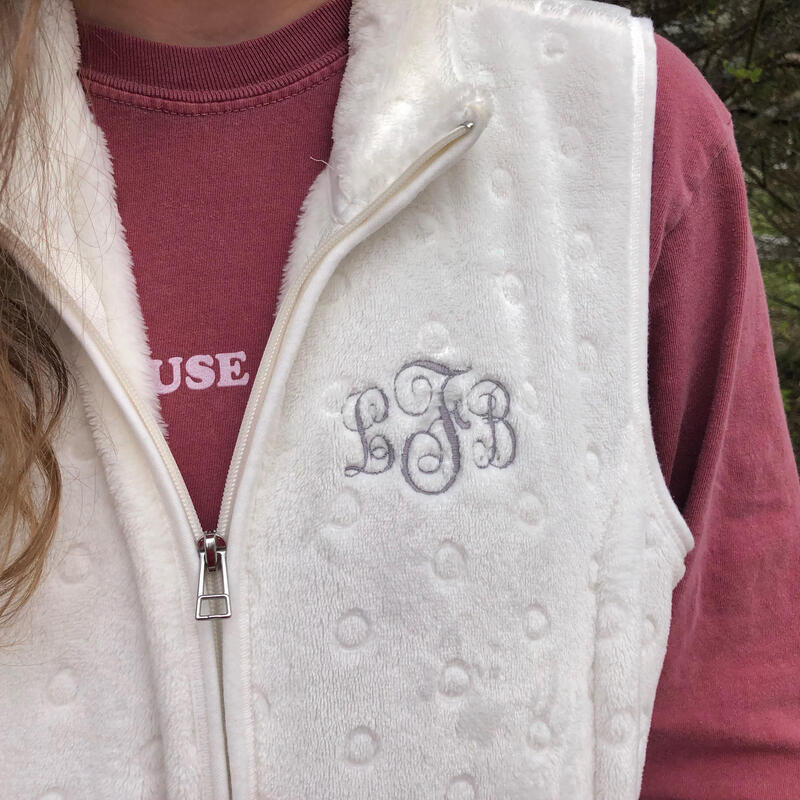
With the help of Kat Woodruff-Carter as a lovely model!
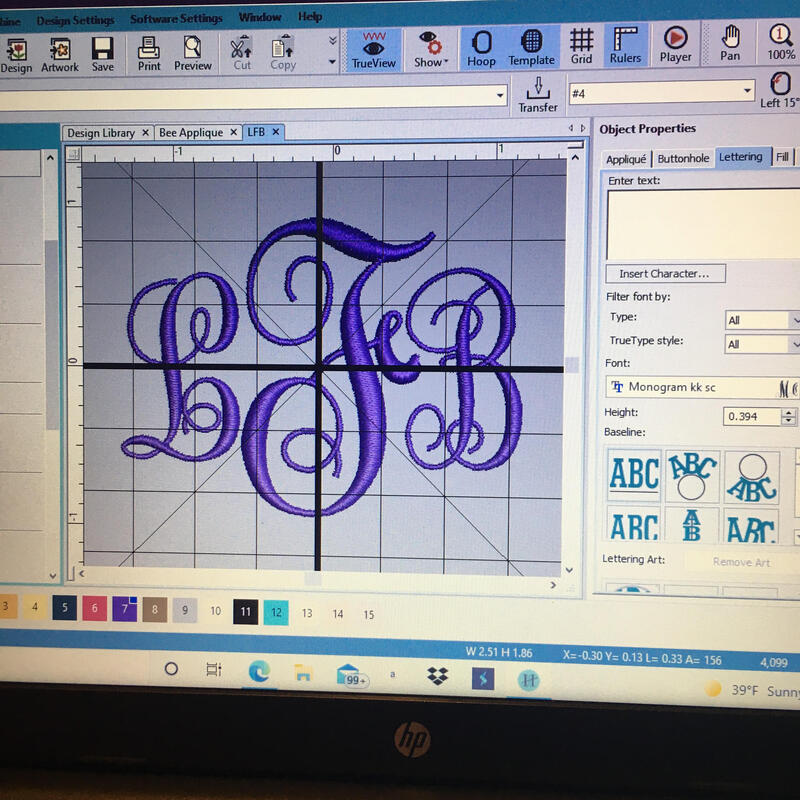
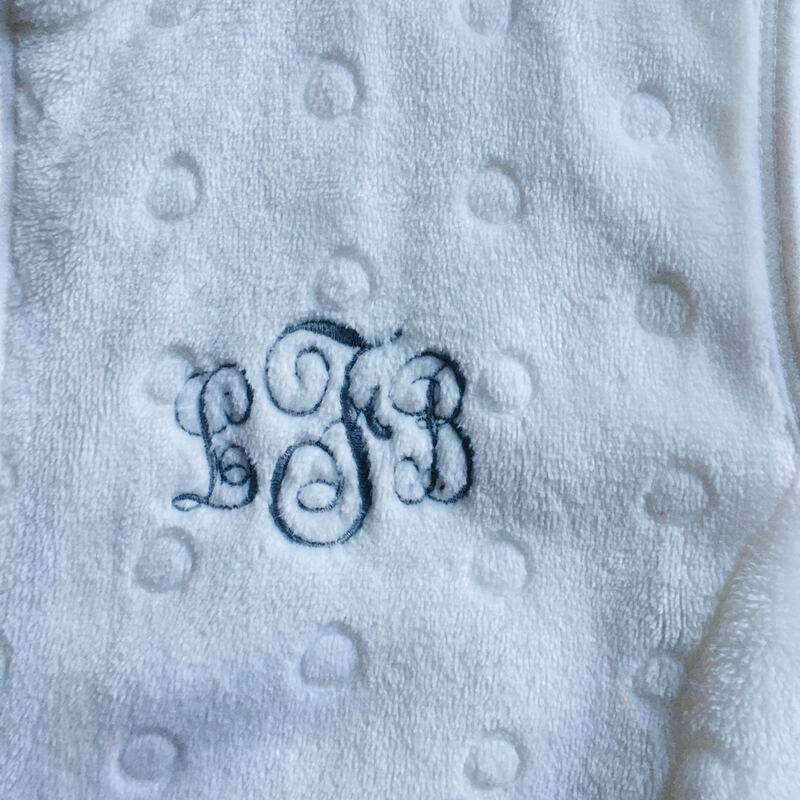
This week I learned how to do a three letter monogram. A monogram is all three of your initials put in the order of first initial, last initial, and then middle initial. As long as I can remember, I would always have my monogram on everything as a kid. Whether embroidered on my book-bags for school or on the front of my jackets, my monogram was everywhere and everything was personalized.
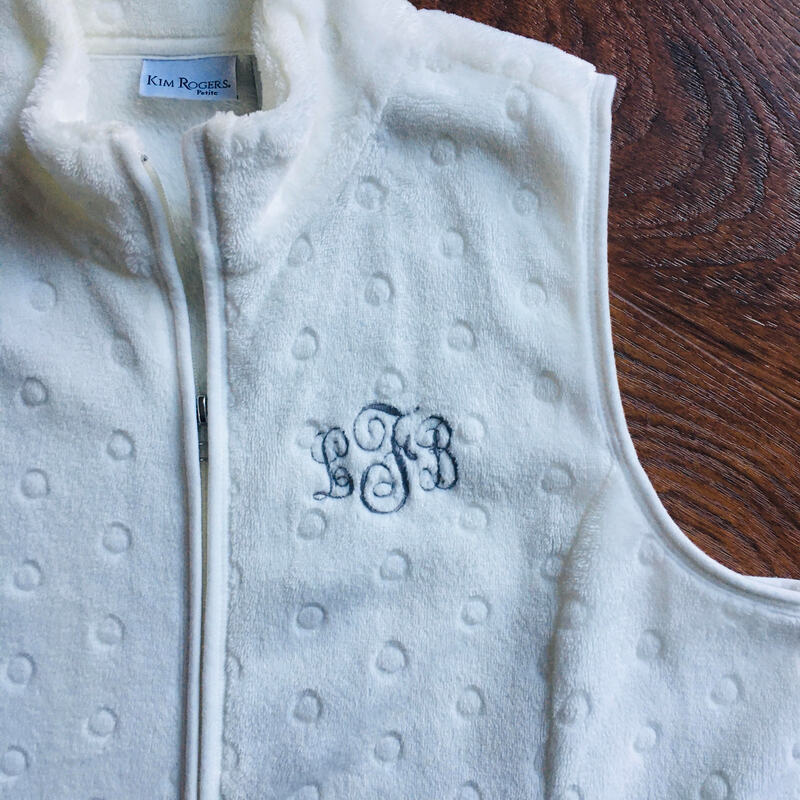
I have really enjoyed learning how to use one color and now onto my next project with two colors. The Final Product15 minutes and 4101 stitches later...
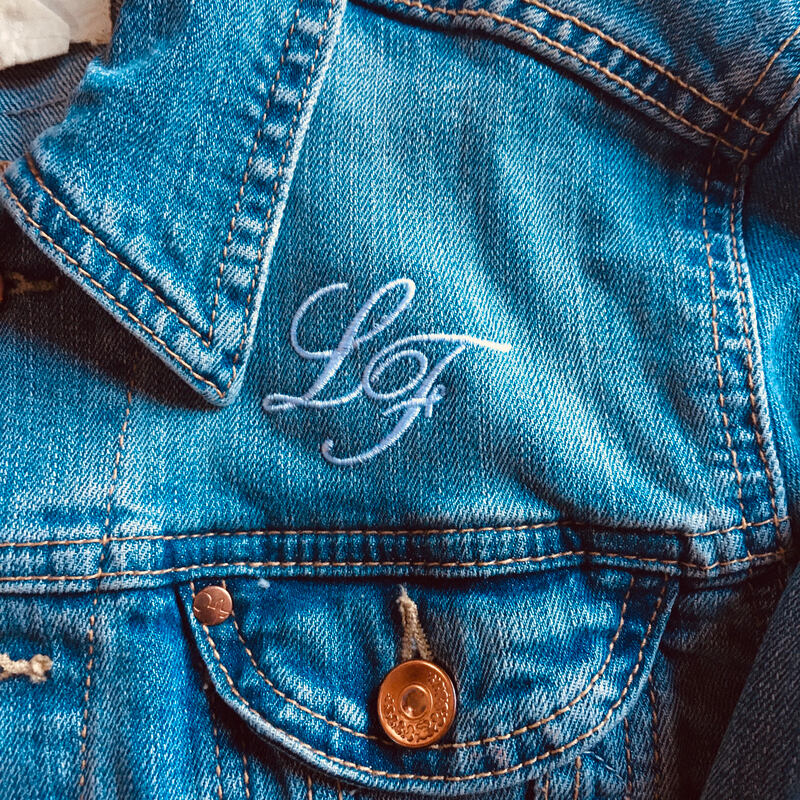
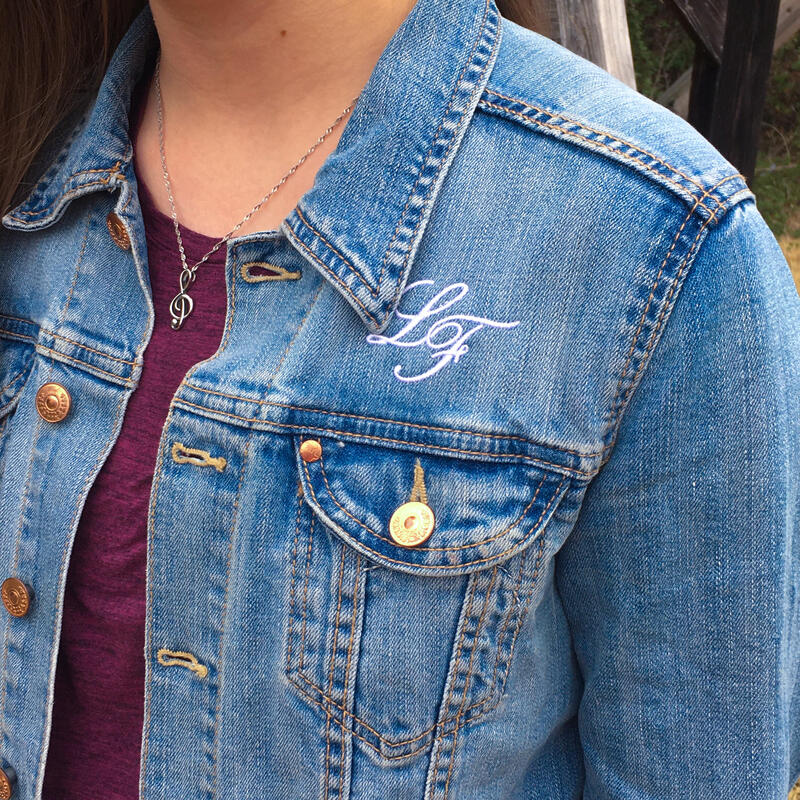
This week I learned all kinds of things about the embroidery machine. Last week I embroidered a letter on a hand towel with a lot of help from mom. This week I embroidered two letters on one of my denim jackets that I already owned with just a little help. Although I did load the machine and transfer data from the computer by myself.
Overall I think it sewed out very well and I can honestly say that the bottom side looks just as good as the top. (sometimes the underside can get knotted and birds nest like) Both me and mom are really proud of it and I can't wait to wear it and show off my newly improved jacket. The Final Product 10 minutes and 1786 stitches later...
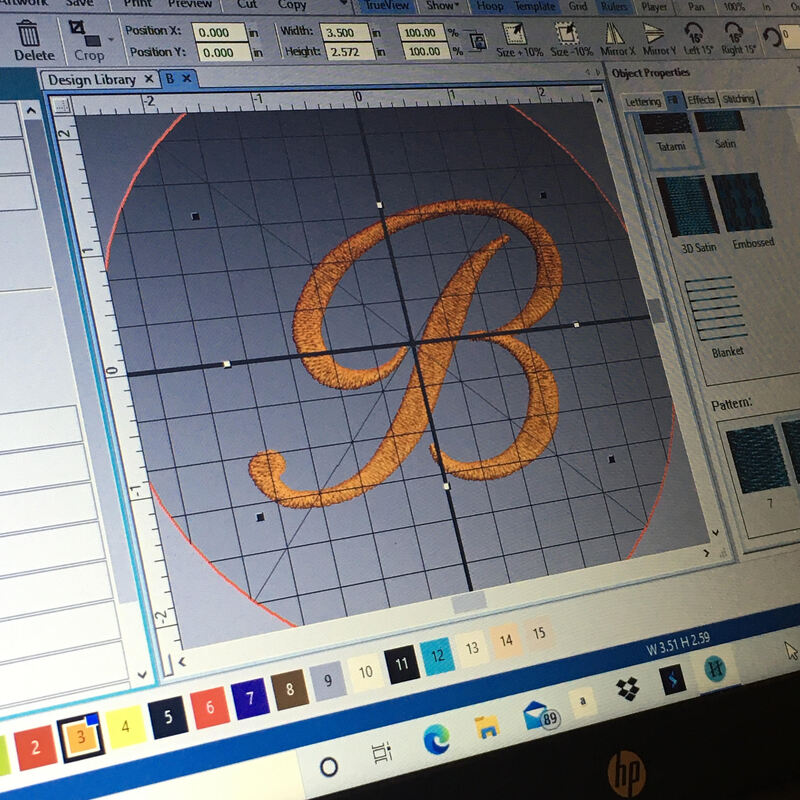
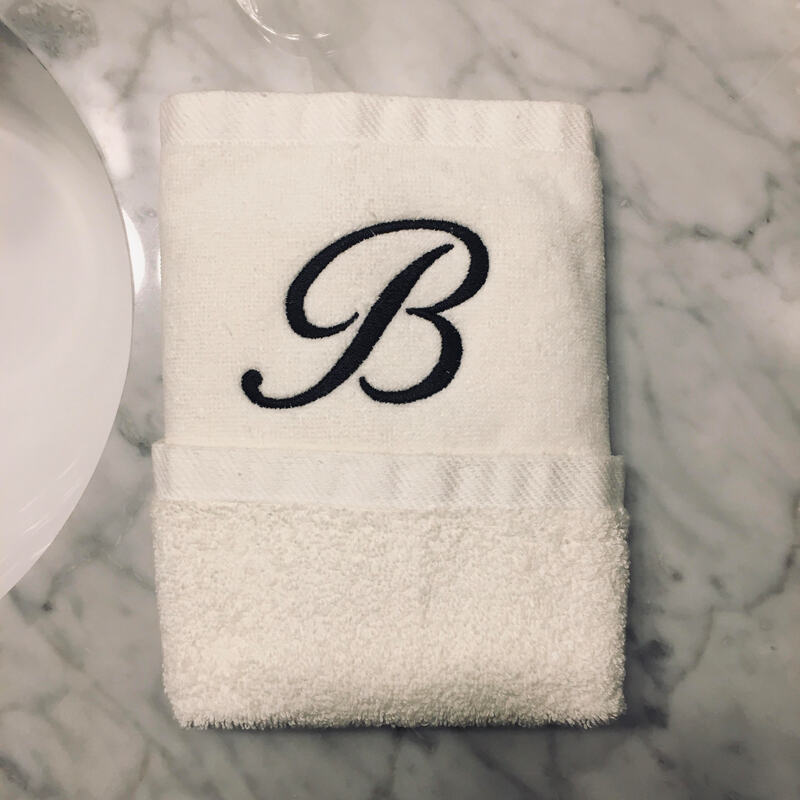
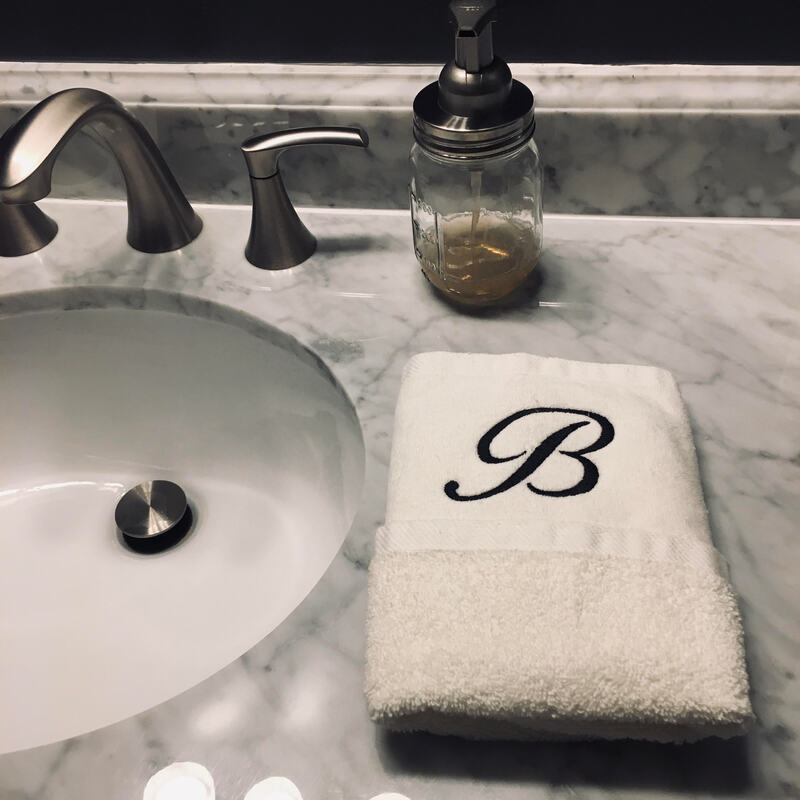
I started out by using the digitized design that we already created and transferred it to the embroidery machine. From there I watched as mom pushed a bunch of buttons on the keypad to select the right design from all that she had saved in the machine. From there I watched as mom put the hand towel in the hoop along with the stabilizer under it so the design would have clean lines and not mess up as it sewed out along with stability after it is done and gets used. I learned that when embroidering on something other than clothes you use a tear away stabilizer because if it is not getting worn, there is no need for the extra stability. We also used a wash away stabilizer on top of the towel so that the needle wouldn't get caught in the loops of the material of the towel and there would be less likely of a chance we would have to start over. The cool thing about wash away stabilizer is that it disintegrates with water, so by washing it you could get rid of all the visible pieces that otherwise would be out of reach or difficult to get to.
The Final Product
|